Close to my Heart scrapbooking and cardmaking products

I'm an independent Close to my Heart consultant! If you're interested in our wonderful line of products, you can check them out or order online on my website at: Francine.cmth.com.au


Showing posts with label Wrapped in Paper. Show all posts

15 March 2014

So Very Loved

I made this layout for the March Scrap the Girls Challenge to use either hearts and/or doilies. I love my doily dies so that part was easy! The papers and embellishments I used were mostly from the monthly paper and embellishment pack from my local scrapbooking store, Wrapped in Paper, with a few things added from my stash.

The picture is from my daughter's year 12 formal last year. I think she looked gorgeous and I love this picture! I'm glad I finally got to scrap it.

Kaisercraft collectables,
burlap and other die cut flowers,
etc layered together 

doilies, flowers and other die cuts
 layered on top of each other
I love layering papers and embellishments and this layout was no exception. The dies I used to cut the various layers were:


Half die cut, half fussy cut title
I am particularly happy with how the title turned out. "So very loved" and the red flower were part of a 4" x 6" panel on one of the papers. I fit the MFT Die-Namics Clearly Sentimental Label over the words part and then only cut it out to the beginning of the flower. Then I simply fussy cut the rest around the flower and mounted it with foam squares. I think it looks great. 

I'd love to hear what you think, so please feel free to leave me some comments ☺

Till next time, happy days!

4 January 2014

Catching up

Oh my - it's been months since I've posted anything on my blog! I haven't completely given up scrapping, I just haven't been posting about it. Hopefully I'll be better now that things have kind of calmed down in our household.

Here are a few layouts that I've made in the past few months.

This one I made for an online challenge but then didn't have time to post it. I can't even remember any more which challenge it was for! I really like how it turned out though, with the large photograph and the line of smaller ones below it. These photos are fairly old, from our trip to the Amazon in 2007. The small pictures are of a giant river otter (we saw a group of nine of them), a hoatzin, my children in the boat, a caiman (you can just see its eyes) and a heron. All the papers (Kaisercraft) and embellishments are from my stash. 


3x (Fancy That) Wildflower Head #3 plus ribbon and rose
This second layout is of my daughter's 18th afternoon tea. I used one of the monthly paper kit from my LSS, Wrapped in Paper. I used a Page Maps sketch (although I don't remember which one now) and several die cuts. The dies I used were Woven Circle 98114 (now discontinued, from Memory Box), Doily Flower 3 and Wildflower Head 3 (from Fancy That Dies), By the Numbers (from MFT Die-namics)  DL112 Exotic Butterflies small, and DL112A Angel Wings (by Cheery Lynn Design).
Folded ribbon, paper banner, woven circle die,
wildflower head #3 die, butterfly die


Happy in Love is another layout that I made with the monthly paper kit from my LSS. While I like bright colours, these papers were a touch too bight for my liking, but they went well with the photos of my parents I thought. It's a fairly simple layout, with lots of layering of papers (including a doily), ribbon and pearls from the kit along with a bit of washi tape.


This last layout is also one made with a monthly paper kit from Wrapped in Paper. Again these photos are pretty old, dating from our trip to Kangaroo Island in January 2006. Making this layout brought back fond memories of that trip, and especially our visit to Paul's Place. If you ever find yourself on Kangaroo Island, you definitely should make an effort to go visit Paul's Place. Paul is such a character, and if you have young children they will enjoy the multitude of animals he and his family care for. Cutting dies used were the Textile rectangle and Wonky Scallop Border (both from MFT Die-namics) 


Till next time, happy days!

14 May 2013

Portrait with an Elephant


Here's another Bali layout. This one was made with my LSS (Wrapped in Paper) monthly challenge kit. Most things are from the kit - the cardstock, the patterned papers, the two yellow paper flowers, the lace and the two ribbons (black and rust at the top of the layout), the black rose and the black pearls. I added the kraft coloured tags, the metal embellishments, the yellow star brads, the yellow wooden daisy, the  beads and bow, playing card paper scrap, title letters and the (used) postage stamp which all came from my stash.

I struggled a bit with this kit initially because of the dark colours. However, by adding the little extra bits of yellow and the lighter kraft coloured tags and papers I think it was lifted considerably. The layout itself is based on a sketch by Kristine Davidson from her first Creating with Sketches ebook.

I wanted to do something different with the ribbon other than just lay it on the layout as a strip, or tie a bow or knot in it. Consequently I was playing with it and accidentally discovered how to make the "false" bow at the top from the rust coloured ribbon. The cutting of the black ribbon to make the banners just popped in my head and I put the two ribbons on top of each other, added a black pearl in the centre of the rust coloured "bow" and loved the resultant embellishment cluster!

I had fun trying different metal and yellow embellishments from my stash and placing them and the kraft tags and papers in a manner that I was ultimately happy with. Even finding a place for the used postage stamp (under the playing card scrap of paper) was fun.


While this layout wasn't a winner at the LSS, I enjoyed making it and loved the result. Besides, it reminds me of what fun we had in Bali.

Till next time, happy days. 

20 August 2012

Grandchildren - Youngest and Oldest


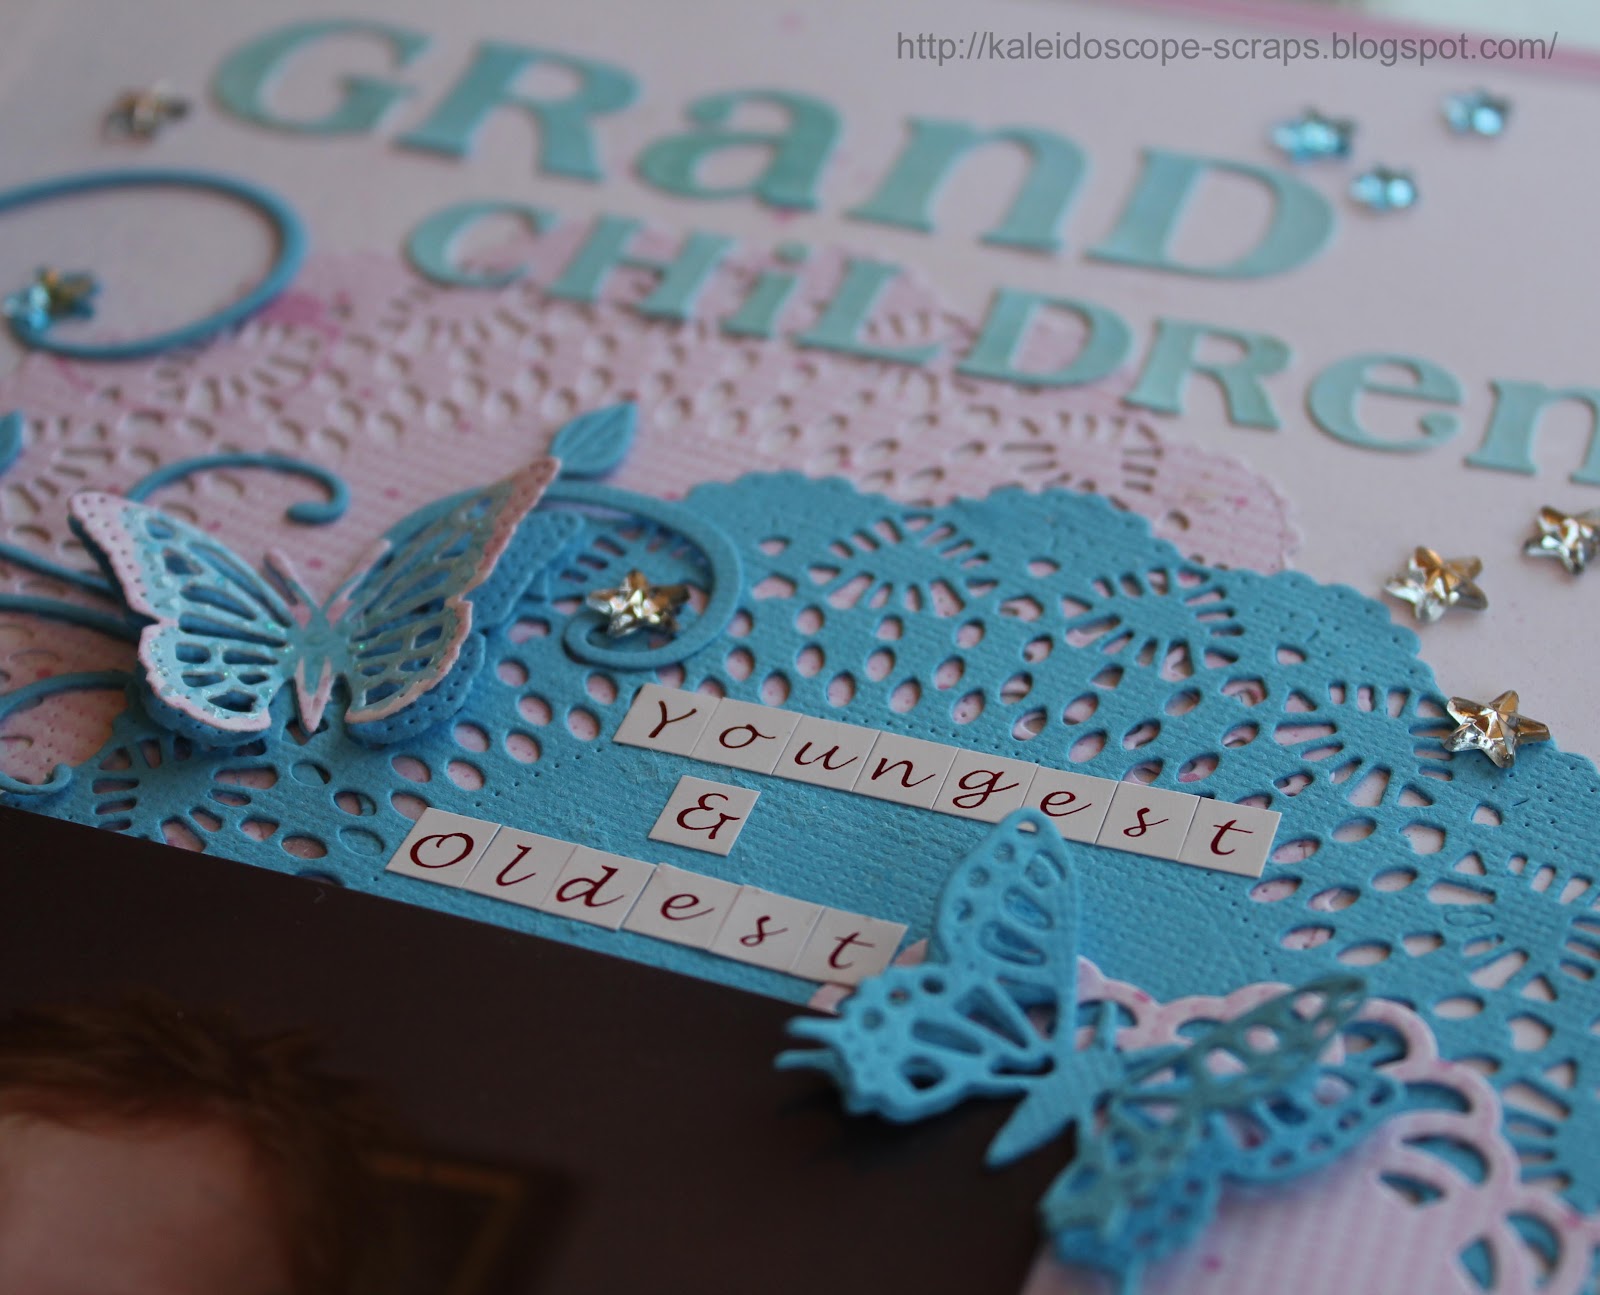
Here is my layout for this month's Scrap the Girls challenge. I used the monthly paper kit from my LSS, Wrapped in Paper, which just happened to have blue bling stars in it. I had some more pain ones I could add as well and so this layout was born.
Initially I was going to fussy cut the centre out of the paper as there was a frame of swirls and butterflies surrounding the paper, but in the end I decided against that when I found this sketch by Nadia Canizzo.

The girls in the photo are my nieces. This photo was taken at my family reunion in North America last month, and it just happens that the little one is the youngest grandchild, and the older one is the oldest grandchild. I think it's a beautiful picture of them both (not that you can tell with the pixellated faces, LOL!).


Fussy cut butterflies
As usual, I used my Big Shot and cut out the large doilies, and the smaller doilies, as well as the fanciful flourish from both the patterned paper and the blue cardstock. I also cut a few butterflies with my dies, as well as a couple of fussy cut ones from the paper. There is a partial label in the top let corner as well.
clothes peg body

The lace and flowers were in the kit, as was a small clothes peg. I took it apart, sprayed it with glimmer mist, tied some floss around it, and used it for the butterfly body. I also cut some large butterflies with my favourite butterfly die from Marianne Creations (LR0115), and used them as masks on the white cardstock background which I sprayed with blue and pink glimmer mist.  

For the title I used some Basic Grey ice blue letters. They weren't  really the right colour so I sprayed them with the same blue glimmer mist as I used on the background. The blue didn't come out the same, but at least it was closer than any of the other many alphabet letter stickers I own! 

Misted background
Please leave me a comment - it makes me feel that someone out there really is reading this, and anyway, I'd love to hear what you think of my layout.

Till next time, happy days!

Francine

28 May 2012

Stonework


This is my latest layout, made with the Wrapped in Paper monthly scrapbook kit. It had two sheets of Bazzill cardstock, and several sheets or part sheets of various beige/brown patterned papers. There was a length of brown ribbon, some blue/brown ribbon and the white string as well as two turquoise/silver brads.

Now to enter the competition each month you need to use at least a little bit of everything in the kit. There's usually something in there that I find difficult to use, and this month it was two things: the brown cardstock with the houses heat embossed on it, and the Graphic 45 kraft range paper with the cards on it. While I love both these papers, I didn’t feel that the brown one matched the other colours in the kit, and I didn’t know how I was going to incorporate cards into my layout either. I thought on this layout for days (well, probably more like weeks!) and finally came up with the photos to use. Then I checked all my sketch sites and Pinterest to come up with a layout idea. Finally I had a few sketches and layouts printed out that I was going to follow, and in the end I went with something completely different!

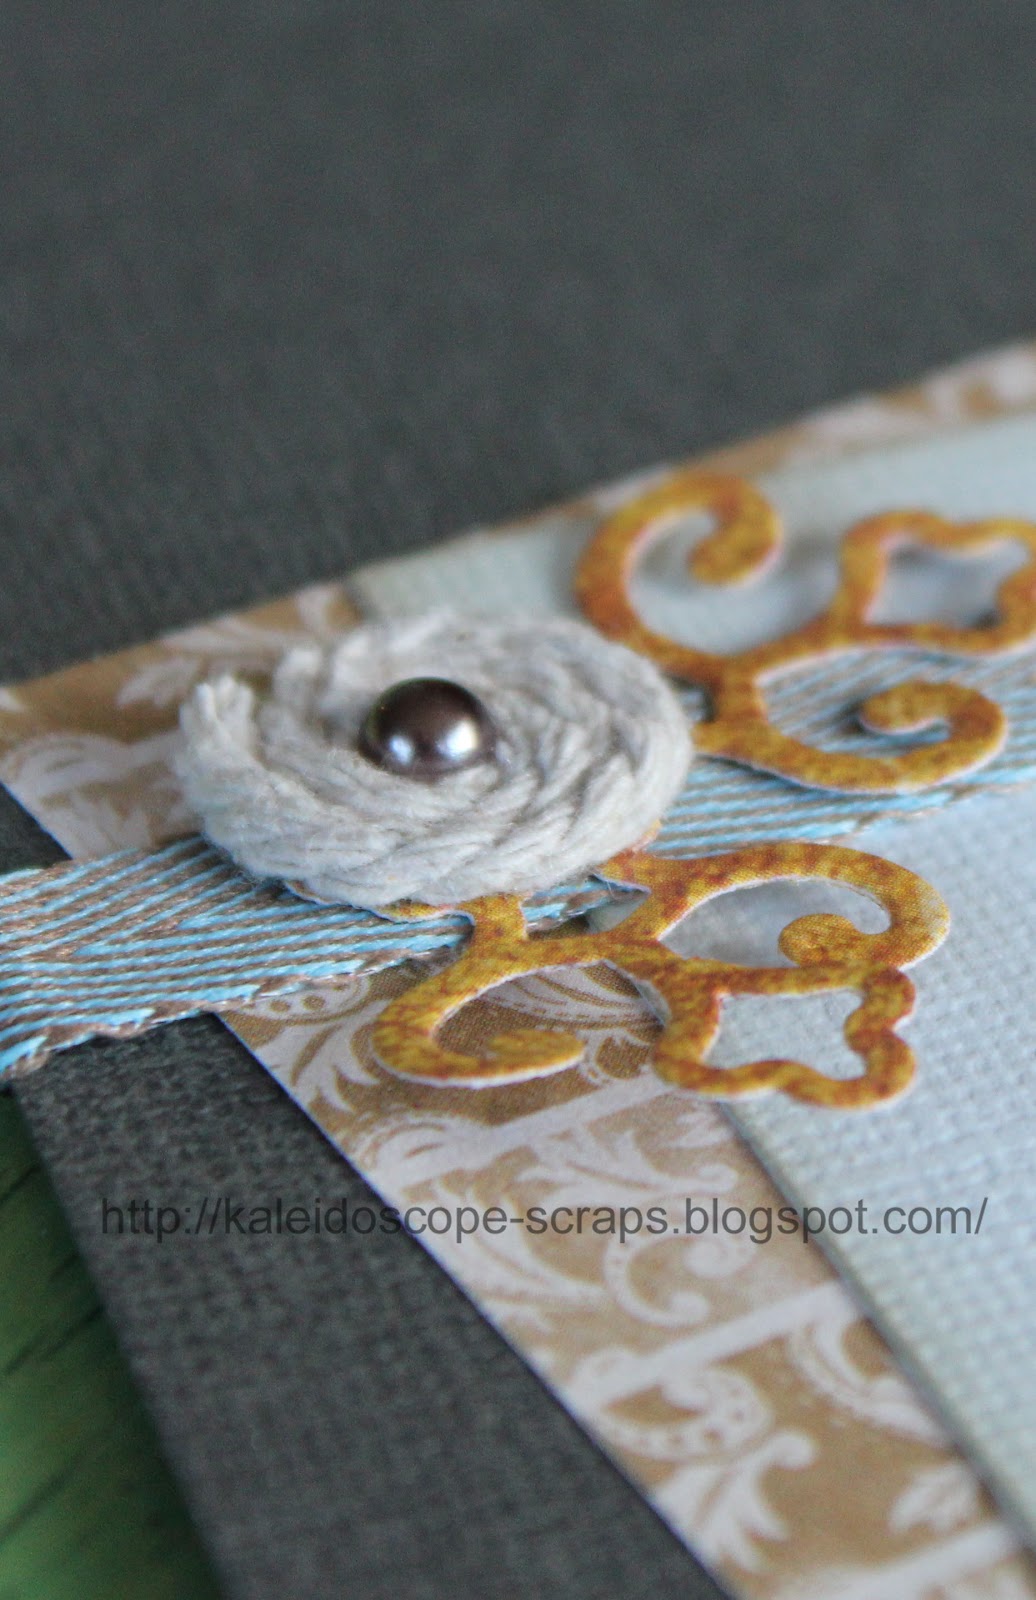
I ended up using a sketch (no 274) from Scrapbooks Etc page sketches. Of course I kind of followed the sketch, but made several changes to it as well. The fancy die cuts were made using my Spellbinders Ironwork accents die, while the small blue die cut in top right hand corner was made with long die from the Die-namics layered labels die set. I also added a few Kaisercraftpearls, and a button, sewed on with some floss. The letters for the title are old Delish Designs (can't find a link, sorry) that I had left over, with not quite the right letters left, but you know, p's and q's make good o's when you cut off their legs *wink*.

I used the brown ribbon to make a rolled ribbon flower using this tutorial, although I used double sided tape rather than hot glue to put the ribbon on to the circle. I also put some red liner tape onto the circle of the corner die cut (on the ribbon, towards the top, far left side of layout) and then simply wound the string around and added the pearl. I had a bit of the brown paper with the embossed houses on it left from the strip behind the photos (can't waste it by covering it up!) and just cut the sun and house out to add to the top embellishment cluster. Same with the King card, I cut it in half, so still have half a card to use on something else.

Anyway, enough of an explanation, do you think I might win? I doubt it because my style is quite simple and someone else who enters each month has a shabby chic style with lots of embellishments, so, to the average person coming in to the shop, theirs always stands out. Still, I like my layouts and in the end, that's all that matters  :-)

My son commented that he thought it was a strange thing to make a layout about, but if you follow my blog at all, you'll know that I do that from time to time and scrap about different things like plants and insects as well as my family and our trips! I loved this stonework on the Parliament Buildings in Ottawa, Canada, and took all these photos when we were living there in 2006/07. Since I had never scrapped them, I thought it was about time.

Till next time, happy days!
Francine

27 April 2012

on TOUR


Here's my latest layout. I used the monthly challenge kit from my LSS, Wrapped in Paper. From the paper colours (Velvet Ensemble Collection from Kaisercraft) I decided to use some photos from our trip to the Northern Territory last July. I used the word See in my title so it qualifies for the latest Bird is the Word challenge as well.

So, I know I say this almost every time I finish a layout, but I really do love how this one turned out!! I'm loving using distress inks and used them to add stamping to the papers. Since the reverse of the cream and green papers was just wrong with the photos (wrong colours and too busy) I thought that if I added some Stampin Up! En Français script background and Stampin Up! Botanicals flowers in Frayed Burlap ink that it would add a little something to the papers so they were a bit more interesting.

I had already decided to add the small photographs to the layout and printed them, then realised that the fourth paper I had to use from the kit included the film strip, and that the small photographs were just the right size to fit the openings. Of course I had to make the openings first! I used the anywhere hole punch for punching eyelet holes to cut the slightly curved inside corners, then connected the holes with my exacto knife, and voila, the centres fell out and I was left with just the black frame part. Pretty ingenious if I do say so myself!

Of course one of the photos was portrait orientation so I had to put that one separate. I have been saving postage stamps with interesting pictures on them, and had this one of a young Aboriginal boy. Since the Red Centre is the home of many Indigenous families, this stamp seemed appropriate to add to this layout, and it was the perfect size. I added a few leaf and stamen die cuts (MFT Die-namics PrimaDonna Petals) and the small photo embellishment cluster was ready.

The flower in the top right corner and the green one on the left side were made with the Stampin Up! scallop circle punch and the middle flower and the stamens from the PrimaDonna Petals die. The green flower and the cream and red ribbon were both part of the challenge kit. I added the green chipboard stem (floral design 04) from Scrapmatts to the green flower.

The red sheer ribbon was also in the kit. What to do with that? I was just fiddling with it, so I'm not exactly sure how, but I made the flower from it. I basically folded the ribbon in half lengthways, and every 2cm or so I sewed it together on top of itself so that it made petals and came into a circle. I sewed it onto the black flower from the kit, and then added the discover label to cover up my stitching. I added a couple of die cut leaves and put it on top of the black lace that was leftover from another monthly challenge kit.

I put it all together by vaguely following AnnaMarie Mondro's interpretation of sketch #65 from GotSketch? I finished it off with letter stickers from Scenic Route and Kaisercraft for the title, and a few cream coloured brads in the flower centres. I love it and hope you do too!

Till next time, happy days.
Francine

12 March 2012

I Love You!


 J'ai le coeur à te dire... by LN


A short while ago I pinned this great layout called " J'ai le coeur à te dire... " (I have the heart to tell you…) by LN on Scraptus. I loved all the layering of the circles, stars and buttons and just had to scraplift it. 

So, I came up with this. (Unfortunately the picture doesn't really do it justice, even though I had eight tries before I got one that was semi reasonable!) 

I used the papers, ribbon, "V" brad and heart eyelets from my LSS monthly kit. I felt that the red cardstock in the kit was just too overpowering with the rest of the patterned papers. So, because I wanted to enter the Frosted Designs Fabulous Friday Kraft Paper challenge, I toned it down with a piece of kraft paper I had in my stash. I think the colours go together really well.
I started by putting the kraft paper on top of the red cardstock, then stamped the Stampin Up! Medallion stamp in three places and embossed them with some Stamp-it violet pearl embossing powder. I used some fired brick Distress ink over part of the kraft paper. Then I tore a couple pieces of scrap paper and layered them over the Stampin Up! En Français background stamp before inking it up with the same distress ink. Because of the scrap paper on the stamp, I only got part of the stamp. I haven't stamped on my background much, but I love this effect so might have to try it more often.
I attached my black and white photos, then cut lots and lots of circles and other shapes from the Bo Bunny papers in the kit. The dies I used were:
I used the Sullivan's 1.5" star burst punch and the Stampin Up! multi-flower punch as well. I also cut a number of the words from one of the papers. I inked the edges of some of the lighter coloured die cuts with Bark Versamark ink, then started layering! I attached most of the die cuts with regular double sided tape, but raised some with foam tape. I also put the two bits of ribbon coming out of the top and bottom of the line of embellishments.
See the tiny heart in the middle of the  eyelet?!
I used the V brad over the V in LOVE on the circle near the bottom, and set the four heart eyelets into the cardstock and brown heart. Unfortunately this left a hole in the middle, but the paper with all the words also had the tiniest little hearts that fit perfectly in the holes so I cut them out of the paper and attached them behind the hole - problem solved quite effectively I thought!!


Finally I added a few bling hearts and flowers, printed and added the jounalling strips and I was done!


I absolutely love how this layout turned out, and for the first time in a while it came out better than I imagined. Of course it helped that these pictures of my son and I are great too.

Till next time, happy days!
Francine