Close to my Heart scrapbooking and cardmaking products

I'm an independent Close to my Heart consultant! If you're interested in our wonderful line of products, you can check them out or order online on my website at: Francine.cmth.com.au


Showing posts with label PageMaps contest. Show all posts

16 April 2013

Travel


I'm so happy with the way my latest layout turned out! I used a sketch from Page Maps, and the challenge theme (travel) from Frosted Designs and the whole thing came together just as I imagined! It's not often that that happens.

With the travel theme challenge I decided I would use two of my favourite travel quotes:

“If you reject the food, ignore the customs, fear the religion and avoid the people, you might better stay at home.” – James Michener 

and:

“The world is a book and those who do not travel read only one page.” – St. Augustine 

As a family of avid travellers there are times when we just sightsee, and times when we really travel. It has been our experience that when we actually immerse ourselves in the culture of the place that the trip is more exciting and interesting. This was certainly the case on our trip to Bali in January. So, I found some photos showing some of the things from James Michener's quote that represented the food (basket of snakeskin fruit), the customs (making an offering in a family temple), the religion (woman praying at Tirta Empul Temple) and the people (working together at the mask painting workshop). All of these pictures evoke fond memories of that trip. 

In putting the layout together I decided that I needed to add more weight to the quote itself and so I typed that up (fonts: Hotel Coral Essex and dearjoe4) in place of the photo in the sketch and made it the centre of attention. The pictures are actually secondary to the quote. 

The second quote from St Augustine I typed onto a piece of patterned paper (font: Corbel)  and then cut it into a banner shape. I even used the piece I cut off (reverse side of the paper facing up this time) for the arrow shape near the journalling. 

Here's a list of the products I used for this layout:
Cardstock: Stampin Up! 
Papers: Kaisercraft
Brads: Kaisercraft and unknown from my stash
Travel words: Junkitz clear acetate "ribbon"
Felt embellishments: Junkitz
Punches: Stampin Up! scallop circle, Creative Memories circle
Cutting dies: Cheery Lynn English tea party doily, Papertrey Ink Limitless layers (1.75" and 2.5" collections), MFT Die-namics File tab, MFT Die-namics Decorative Doily duo, memory box woven circle (style 98114 - now discontinued?) 
Mesh: Gyprock Easytape (from the hardware store!)
Other: Distress Ink (marigold), jute, metal charms, gold letter stickers

So, what do you think? 

Till next time, happy days!
Francine

25 November 2012

You & Me


Oh my, it sure has been a while since I posted. I have been terribly busy with life in general but have managed to get my monthly LSS challenges completed, just not blogged! Anyway, today I wanted to show you my latest entry for the Ruby Rock-It sketch challenge at Page Maps.

 I do love purple and green together, so it was great that Kyaa and I were wearing purple and green and I could use the colours for this layout! I think deep purple with lime green is a divine combination. 

The sketch by Becky Fleck was so easy to follow. As it turns out I had quite a few die cuts and flowers in my stash too that were suitable so this layout came together quite quickly. The majority of items for this layout have been in my stash for quite a long time and I don't know where everything comes from. I do know this:
  • chipboard bird is from Words or Whatever
  • the plaid paper is from TLC,
  • the green journalling tag is from Kaisercraft,
  • I used the Martha Stewart butterfly punch with green paper from TLC for the mini butterflies,
  • the chipboard heart at the top is from Collections Elements and coloured with a purple Sakura gel pen
  • ribbon is from Costco
  • green jute was just purchased the other day but I don't know the maker.

Flowers, brads, purple tag, buttons, cardstock, mauve paper, letter stickers, and purple and green heart die cuts - makers unknown.

I'm happy with the way this layout turned out, let's just hope whichever of Becky's friends judges the competition thinks so too!

Till next time, happy days!
Francine 

26 August 2012

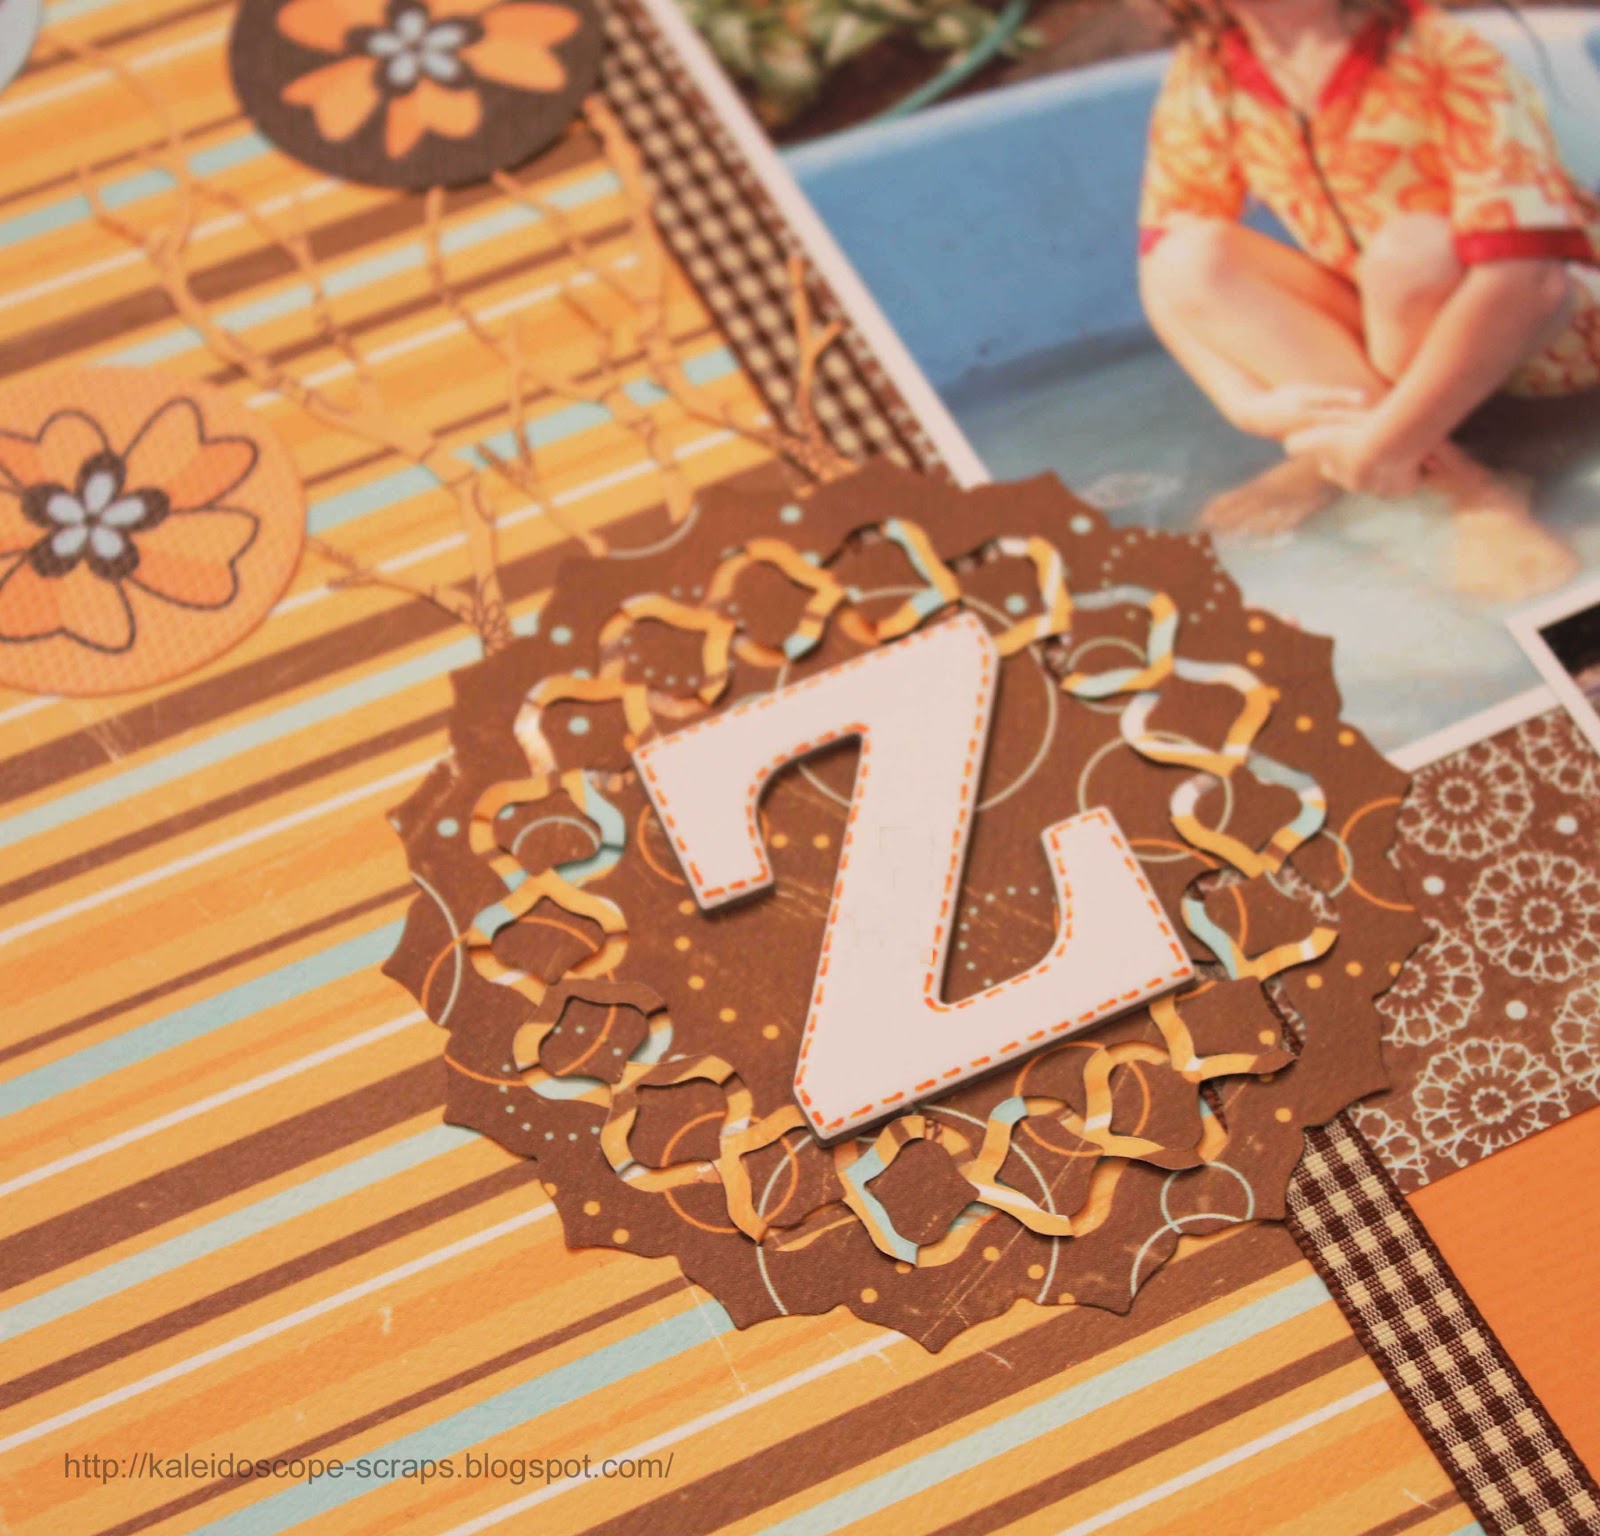
Z @ four


These adorable photos are of my youngest niece. She lives on the other side of the world and we talk to her via Skype but had only met her in real life once before. That was when her family came to Australia when she was two. So, it was great to catch up with her again when we went to North America for my parents' 55th wedding anniversary and family reunion last month.

When she is happy to have her photo taken she's a real poser, but she can be just as stubborn about not posing when she doesn't want to either. Thankfully I got these gorgeous shots of her having fun in the water one day. I thought these photos were just perfect for the latest Page Maps FancyPants sketch contest too.

I loved the simplicity of this sketch by Becky Fleck, and it really suits my style. The hardest thing was finding an embellishment to use instead of the jar. 

Once again, I'm using things from my stash. This is an old TLC Runway kit. The only things not TLC were the cutting dies that I used to make the branches (Memory Box - Woodland Branch 98187), the circular medallion (Nellie's Multi Frame MFD041), and the buckle in the top right hand corner (Memory Box - Locina buckle 98184).

With the circular medallion I love how when it's used with double sided paper that you fold the cut parts over and you get another colour or pattern showing through. It's probably not as obvious when both sides of the paper are patterned (like here), but if the back is a completely different colour, it can be quite stunning. I'm sure you'll see me use this one again.

Anyway, I'm very happy with how this layout turned out. I'd love to hear what you think!

Till next time, happy days.

Francine

3 March 2012

Sail


Here's my latest challenge entry. This one is for the PageMaps Webster's Pages sketch contest. I loved this sketch and had an idea in my head straight away, but as is often the case, the actual layout didn't turn out anything like I planned! About half way through I was ready to throw in the towel and forget the whole thing, but I persevered and I think it turned out well in the end!

I used the monthly kit from my LSS - Wrapped in Paper. The papers are from Bo Bunny (the yellowish one under the photos and the strip along the middle) and Kaisercraft (the green tag is the backside of the patterned paper frame around the layout). There was Bazzil black cardstock, a small strip of the dominoes patterned paper, the canvas tag under the flowers in the centre, the wire ribbon that I stretched over the canvas tag, the purple ribbon and the black lace ribbon under the paper under the photos.

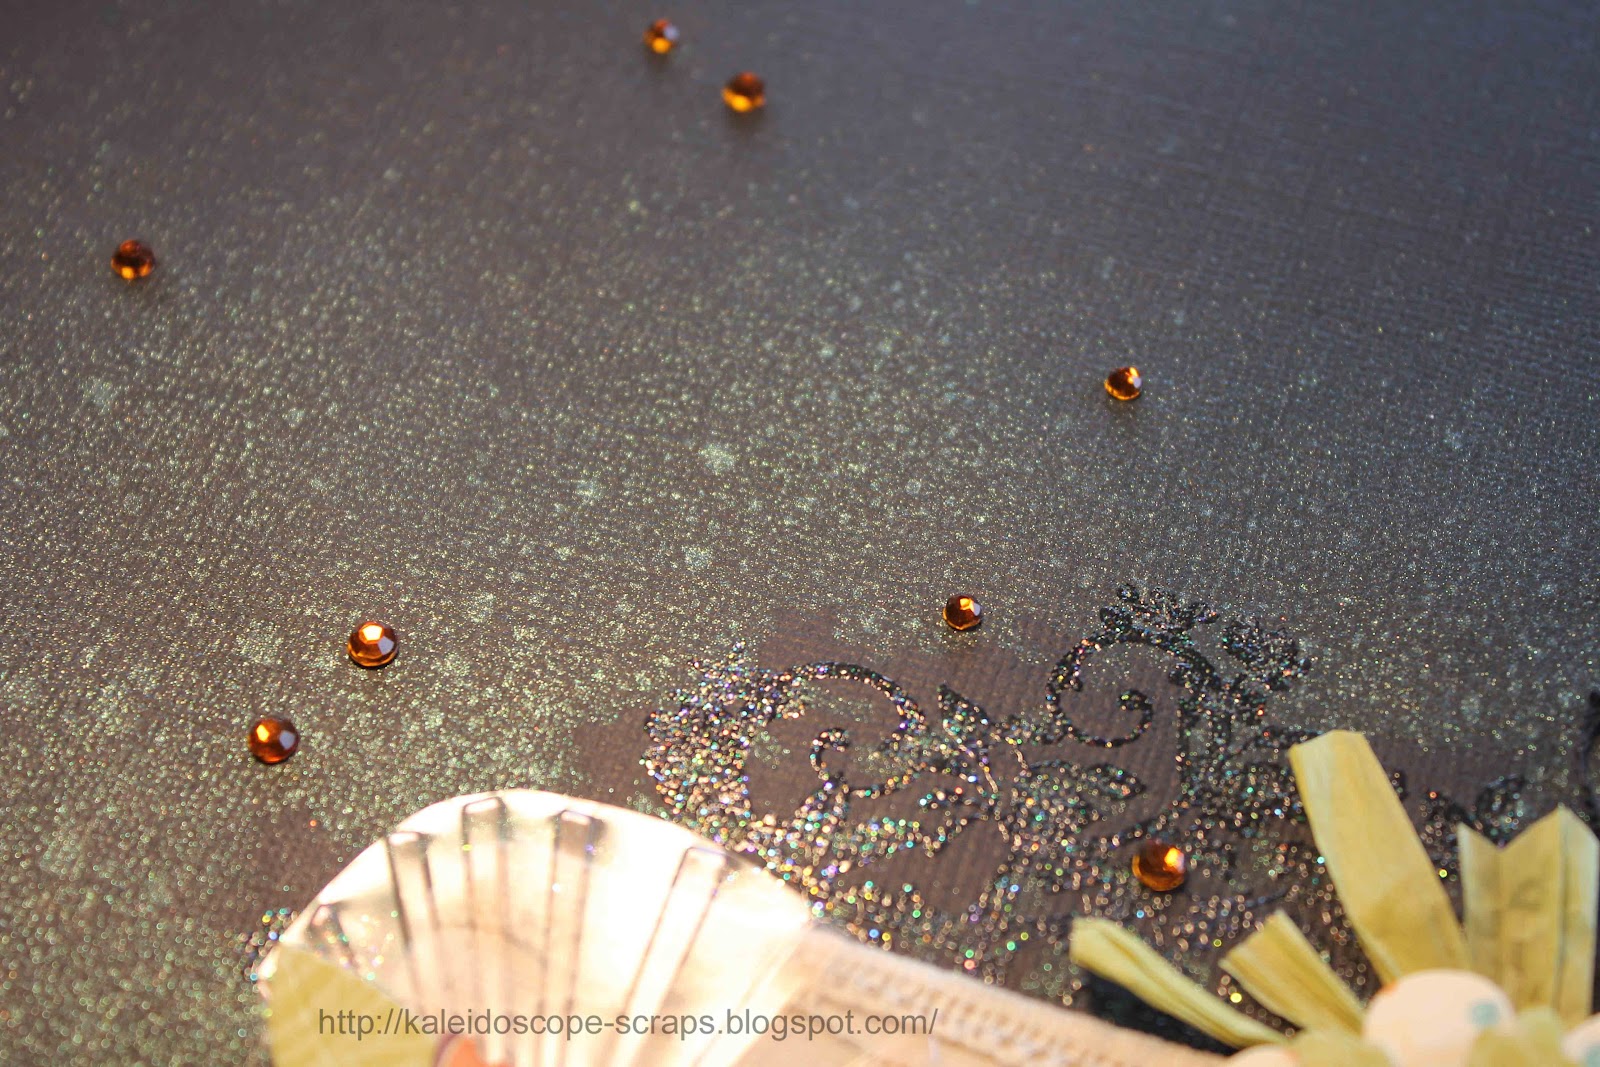
See the misting and embossing?
I started out by stamping a Tattered Angels Garden Blossom Trees stamp in the centre of the page and heat embossing it with clear embossing powder. I stamped the tree with white ink, but that obviously didn’t work! I then put a matching glimmer screen over the tree and sprayed green glimmer mist over the top. It just turned out kind of muddy looking. At this point I was going to give up because the paper had buckled slightly, the mist didn't really show up and the stamp even less so. But, I don't like to waste anything, so I kept going and I think by adding all the rest of the papers and die cuts it all came together.


The dies I used for the die cuts were: Die-Namics framed greetings die (which I then cut in half), Die-Namics Prima Donna Petals, and Die-Namics Dog Tag. The green rafia behind the top flower came from some packaging I had saved, and I embossed a piece of acetate packaging with Craft Concepts Ornate Treasures Oriental Fans embossing folder. Before embossing I put some orange ink on the raised part of the folder so that it transferred to the raised part of the acetate. I then attached it behind the left hand flower although it's a bit hard to see in the photos. I used my Cuttlebug Baby Face alphabet dies for the title, then drew around the letters with my Sakura clear stardust gel pen. A few silver brads and some orange rhinestones and it was done.

The photos were taken last October while I was on a bike ride around the lake. The sails were so colourful I just had to photograph them.

Till next time, happy days.
Francine

29 October 2011

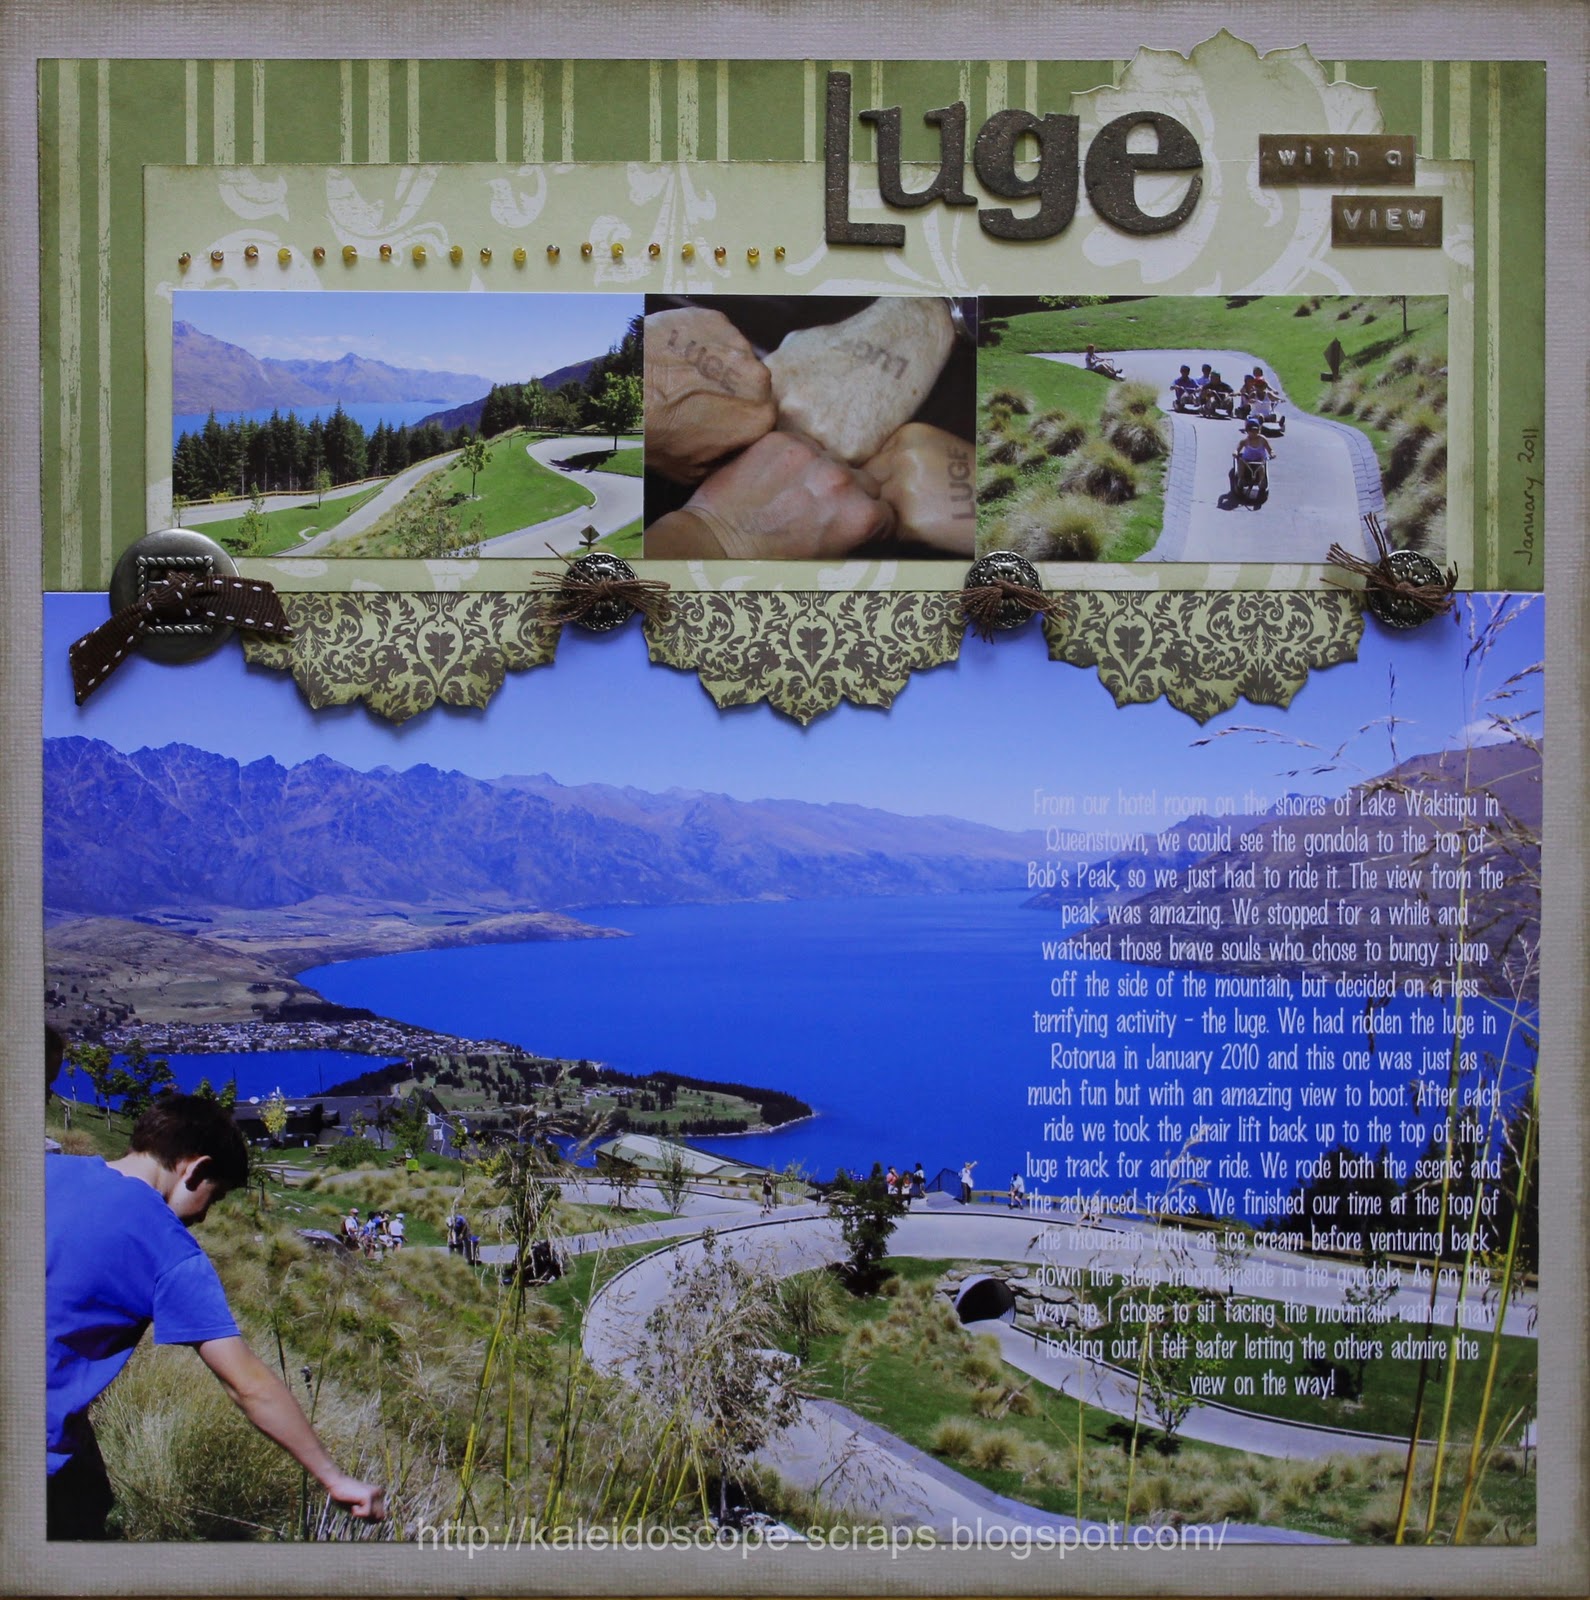
Luge with a View


I love Becky Fleck from Page Maps' sketches! They're always so well balanced and easy to follow. So, whenever her challenges are open to international scrapbookers, and sometimes even when they're not (since I have family in the States so can use their address) I try and make a layout. This time she's offering stuff that she's purged from her studio and there's some nice things there I wouldn't mind getting my hands on. But, even without the prize, the challenges always help me get some scrapping done! So, this is my latest creation for this challenge, from the sketch at left!


Since my page was all about the magnificent view at the top of Bob's Peak in Queenstown, New Zealand, where we went to the luge track, I couldn't help but replace the white space below with a large photo. I typed my journalling directly on to the photo before printing it out. 


Limitless layers circle B used to cut the half circles
I kept the embellishments simple, using a metal ribbon slide, some fancy metal grommet buttons, a bit of ribbon and floss from my stash. I also used my Big Shot to cut the lotus scallop edged half circles. I'm loving using my Big Shot and the few dies that I have. More dies are definitely on my wish list! 


The papers are from Stampin Up and I distressed the edges with some Versamark ink. The title is made from Tim Holtz grungeboard letters also inked with the brown Versamark ink, as well as a couple clear Dymo strips that I layered on top of some cardstock scraps that I also inked up first. (Here's a hint for anyone trying this at home - make sure the ink is completely dry and soaked in to the paper before you put the dymo tape on. Otherwise you just get ink on the sticky side of the Dymo tape and it keeps falling off - hmmm... wonder how I worked that out?!)


See the seed beads?
I finished the whole page off by pricking some holes, then using them to stitch some seed beads in a line above the pictures. 


All in all, I love how this layout turned out! Maybe it will be good enough to win, maybe not - we'll see!


Till next time, happy days!


Francine

3 October 2011

Desert Blooms


This layout was made for the latest PageMaps blog challenge using this sketch by Becky Fleck. I flipped it on it's horizontal axis. 


The photos are of some of the flowers we saw while we were in the Red Centre (Northern Territory, Central Australia) in July. For a supposedly dry desert area, there were quite a lot of flowers! I’m so pleased that we saw both the Sturt’s Desert Rose (second from the left) and the Sturt’s Desert Pea (main photo).  

I used paper scraps that I have had in my stash for a very long time! I die cut most of the papers to make the embellishments.

Here’s what I used for the top left embellishment cluster:
Papertrey Ink small Limitless layers die to make the doily frame, then layered it on top of
Papertrey Ink Fillable frames #10
Flower names printed onto paper and cut out with EK Success label punch from Stampin Up!
Leaves made with Sizzlits Little leaves (red ones) and SU 2 step bird punch (patterned leaves)

The title is made from Basic Grey (Fruitcake) stickers.

Bottom right embellishment cluster is made from:
Marianne Creatables LR0115 butterfly
EZ Cut Cut&Fold Flower#5 with a small Joy Crafts daisy flower in the centre
The red ‘flower’ was cut out from one of my kaleidoscope cards using the larger Papertrey Ink Limitless Layers die.

To finish it off I used a couple of pewter coloured brads and I used the Sew Easy paper piercer to pierce the holes for the stitched frame.

I love this layout, but then that’s nothing new, I generally like all my layouts when they’re first finished!!

Till next time, happy days!
Francine

12 February 2011

Farmers' Filing Cabinets

I love Becky Fleck's page maps, and she has a competition on her blog that is open to scrapbookers worldwide this month (which doesn't often happen), so it was definitely time to enter! The Southern Girls challenge this fortnight is blue & brown, two colours I love together, so I decided to combine these two challenges and use some Kaisercraft paper I had just picked up that happened to be the right colours!

Originally I was going to do a layout about our day on the glacier at Franz Josef, but the colours in the photos didn't go with the papers at all! So, instead I opted for these photos. They are of beehives that we saw everywhere in our travels through the Otago region of New Zealand. While we were on our bicycle tour our guide joked that they weren't "farmers' filing cabinets" so that's where the title came from.

Anyway, without further ado, here is my layout.
And here's Becky's sketch.

This layout is kind of a hybrid layout I guess.
Instead of using paper for the middle square that the photo sits on, I used a photograph of the beehives in the field as the background. I typed the journalling and title directly onto the photo, then had it printed out on photographic paper. (Fonts are 'Marker Fine Point' [one of my favourites] for the journalling, and 'Hotel Coral Essex' for the title.) I attached the closeup photo using mounting tape.

Paper: Kaisercraft Prairie Lane collection
Pearls: Kaisercraft.
Ribbon: Brown velvet, and blue velvet rickrack both from inque ribbon
Pens: Sakura (I coloured directly over the title onto the background photograph.)
Tiny Alpha stickers: Kaisercraft (on the blue paper under the photograph)
Brads, buttons, floss from my stash.

Here are some closeup shots.

Till next time, happy days!

Francine

6 October 2010

Mend a Broken Heart

I made this layout for the Ally Scraps sketch contest over at PageMaps. Becky accidentally used this sketch for her last contest as well, but I don’t mind since I love this sketch and I couldn’t enter the last contest as it was only open to US residents. Initially it was a real toss up as to which photo I would use. In the end, I opted for this photo of Kyaa, taken ten days after her open heart surgery when she was 10.5 months old. I think it is my all-time favourite photo. She is so full of life and happy – you would never know she had had three and a half hours of heart surgery and been in the paediatric intensive care unit only two weeks earlier! The hearts in the sketch also just kind of leant themselves to use this picture too. So, want to see the layout?


Here’s the sketch it was based on.

I combined this challenge with the monthly Layout kit from my LSS, Wrapped in Paper. Once again I forgot to take a picture of the kit before I started cutting it up, but basically it contained two pieces of Bazzil cardstock – white and black. It also had two 6” x12” pieces of double sided patterned paper as well as a 6”x6” piece. I don’t know who any of them were made by, but they were all black and white. There were also 3 pieces of lace (1 white, 2 black), a large black flower, a large skeleton leaf, a flocked lace like border sticker, a large white shipping tag, and a gorgeous small white rose. One of the rules of the monthly competition is that you have to use at least a little of everything. That was hard with this sketch, since there was only one spot for ribbon/lace, and nowhere for the flowers or the tag. So I improvised, and added them – but then, that’s what using a sketch is all about, using it as a base and then making it your own.

I also wasn’t enamoured with the fact that the papers were all black and white, and the 6”x6” piece was actually black and cream. I fixed that one by colouring in the cream dots on one side, and the cream flowers on the other with my pink Sakura stardust pen. (Are you sick of hearing about these yet? They’re my favourite ‘tool’ at the moment if you hadn’t guessed!) I also added the pink and white daisy paper as a mat under the picture, and for two of the little hearts, as well as another piece of pink paper for the larger heart. These were all in my scraps. The white chipboard heart is from my TLC days, and the journalling/title was made with my Dymo Caption Maker and some pink (and some clear) Dymo tape. I put the tag for some journaling in the pocket behind the photograph. To finish off the layout I stitched on some beads instead of stitching through the hearts themselves as in the sketch.


The dymo tape says: When you mend a BROKEN HEART your reward is a SMILE like this {3 heart symbols} (10 days after open heart surgery).

I really like how this one turned out. I hope you do to!

Finally - on another note - subconsciously I think one of the reasons I decided to use this photograph today is because, little Evan, the grandson of my online friend Kathy, is having open heart surgery in the US today. He has a similar problem to what Kyaa had, but in a different area of the heart. His family is full of trepidation about the whole thing (who wouldn't be?!). Having been through it though, I'm sure it won't be long till young Evan has as gorgeous a smile on his face as Kyaa did. Mandy, Kathy, Obee and Ed, we're thinking of you today and await the news that all went well with Evan's surgery!

Till next time - happy days!

Francine

30 August 2010

Birdworld

PageMaps blog is having another sketch challenge. The prize is 16 pieces of chipboard from Dusty Attic as well as an ornate shadow box kit. So, since this one was open to people all over the world, I decided to enter. This is the result.

I liked the sketch,
but had trouble choosing the paper to use. Once that was chosen though, the rest came together quite quickly. In the end I used a piece of patterned paper from a recently purchased pad of (Garden Party)papers from DCWV. The blue flowers in the corners matched perfectly the SU blue paper I had already chosen to use! I added some feathers that I had bought on a whim, as well as the Scrapmatts birds that I purchased at the Craft Fair at the beginning of the month. I added a couple of leaves made with the SU bird punch, and coloured the birds with my Sakura pens. I drew a quick border around the pictures, added the silver brad letters title, and a Dymo subtitle. The journalling I put on a journalling sticker from one of my SU Simply Scrappin kits. It reads:
While Gary read his paper outside, I spent an hour or so with the birds at Birdworld. Since the blue & gold macaw loves chewing it was suggested that I remove my earrings before going in! Just as well. Sam the black cockatoo was just content to sit on my shoulders.
Here are a couple more shots.


And here's a shot of the blue & gold macaw chewing my hat, and thankfully not my earrings as I had taken them off. Apparently a woman lost her stud earrings earlier in the day because she didn't take them off, but the bird did!

Till next time, happy days!

Francine

16 May 2010

Spring Hello Card

I don't often make cards, usually just for challenges, and this was no exception. On the Page Maps blog there was a challenge to create a spring card using this sketch:
I actually really like this sketch and making the card wasn't hard at all! Here it is.


As you can see, I rotated the sketch so that the card was in a portrait orientation. I made all the papers myself from the photo I used on the card. {I took this photo at Floriade, Canberra's annual spring flower festival, last spring. I was trying to take a photograph of the wasp on the blossom, but the light through the tree branches and the blossoms, along with the blossom buds and the insect ended up making an unexpectedly wonderful photo in my opinion. I've used it for a scrapbook page before.}

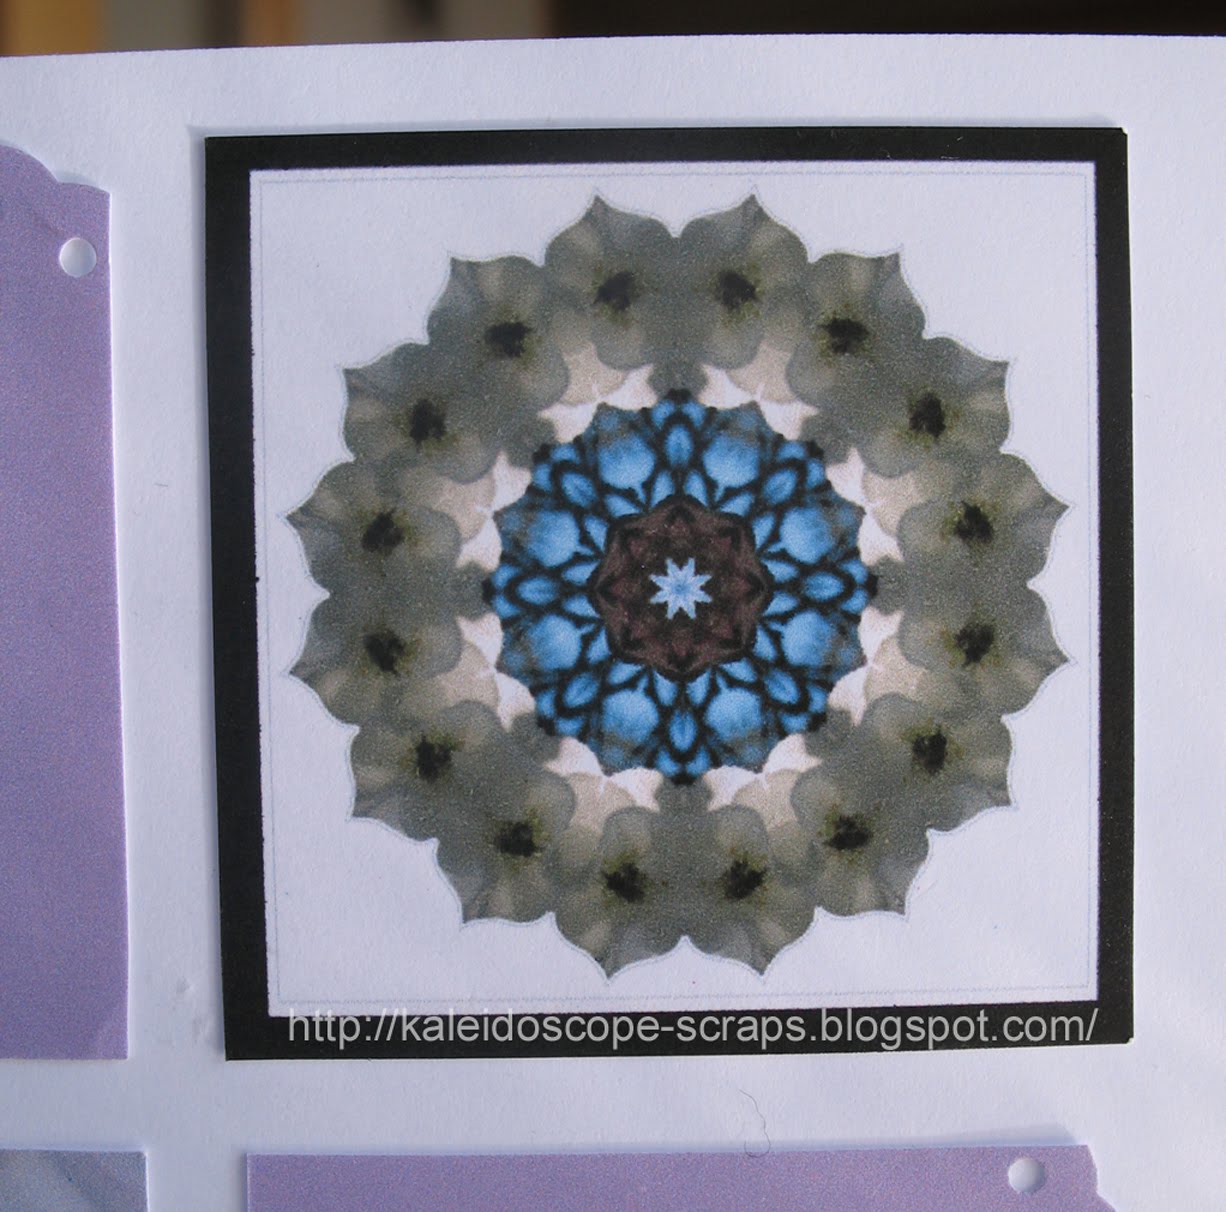
First I made the kaleidoscope. {You can see more of my kaleidoscopes on my MemoriesInKaleidoscope.com website.}


Then, using this tutorial, I made the plaid paper. Lastly I printed some lilac coloured paper, with the lilac colour sourced from the photo and darkened a bit. I used a Stampin Up! scalloped edge punch for the edges of the papers. Then I wrapped some black fibres around the photo and mounted it onto the card using foam tape. Voila - a spring card!!!


Till next time, happy days!