Close to my Heart scrapbooking and cardmaking products

I'm an independent Close to my Heart consultant! If you're interested in our wonderful line of products, you can check them out or order online on my website at: Francine.cmth.com.au


21 May 2010

Project 12 - April layout

Well, here we are again, another Project 12 layout completed, this time for April 2010.

Here's the Page Maps sketch that I was working to.

Instead of using two photos on the left hand page though, I used a single 5"x7" one.

Here's my take on the sketch with photos from April.


Once again I used the same papers that I have been using all along for this project. I mounted a large glittery embellishment from the kit on foam tape for the right hand page, although I added some TLC swirl rubons coming out from under it, as well as a small flower rubon on the centre of it. I also used a Beutron button from my stash, and some Purls of Yarn, (Angel tones) feathery fibre.

On the left hand page, as well as the fibre, I also used another button, and an epoxy sticker that has been in my stash for way too long! I mounted the stickers for the month on foam tape, in exactly the same way as I have done for the other months so far. The paper I used to print the journalling on was from one of those inexpensive packs of patterned paper I bought from a department store early on when I first starting scrapbooking. Finally to finish the page off, I used a TLC Happy Birthday rubon over the title, and drew fake stitching around the title and the journalling paper.

Here are the pages singly. You can click on them to see them bigger.


The month wasn't all that busy, Gary's birthday, a weekend Guide camp for Kyaa and school holidays. The kids and I made a couple of bike trips around the lake and completed some geocaches at the same time. We got caught in the one thunderstorm during April and got absolutely soaked! We went out to dinner for Gary's birthday, and Kyaa enjoyed her camp in Sydney. For the rest it was pretty quiet, and relaxing, and we just enjoyed the beautiful autumn weather.

Till next time, happy days!

16 May 2010

Spring Hello Card

I don't often make cards, usually just for challenges, and this was no exception. On the Page Maps blog there was a challenge to create a spring card using this sketch:
I actually really like this sketch and making the card wasn't hard at all! Here it is.


As you can see, I rotated the sketch so that the card was in a portrait orientation. I made all the papers myself from the photo I used on the card. {I took this photo at Floriade, Canberra's annual spring flower festival, last spring. I was trying to take a photograph of the wasp on the blossom, but the light through the tree branches and the blossoms, along with the blossom buds and the insect ended up making an unexpectedly wonderful photo in my opinion. I've used it for a scrapbook page before.}

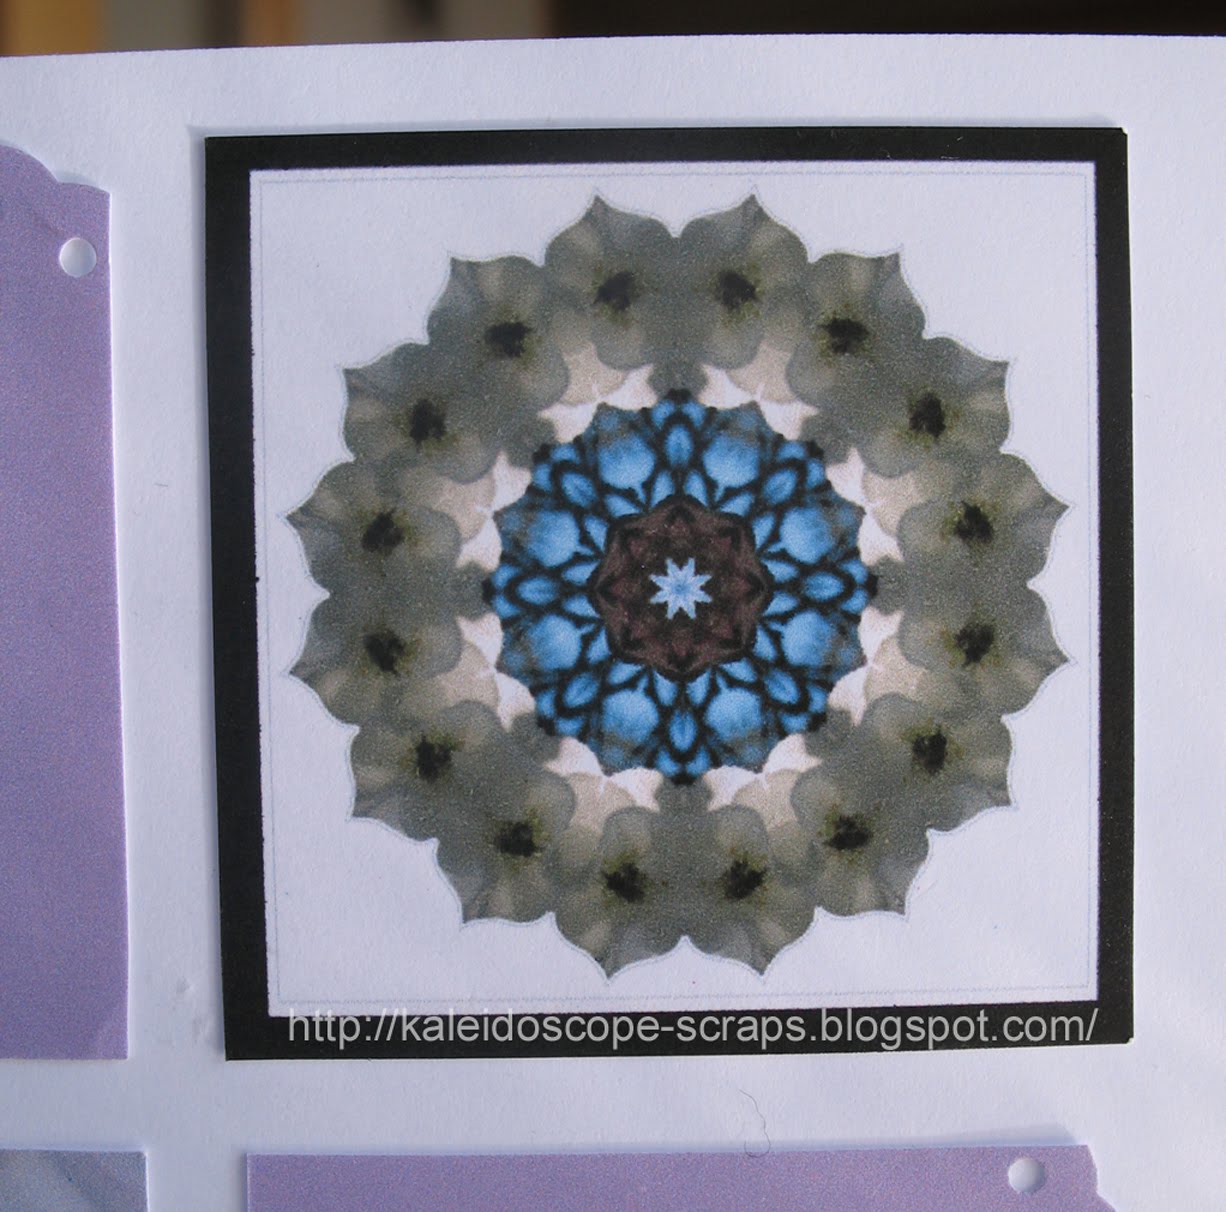
First I made the kaleidoscope. {You can see more of my kaleidoscopes on my MemoriesInKaleidoscope.com website.}


Then, using this tutorial, I made the plaid paper. Lastly I printed some lilac coloured paper, with the lilac colour sourced from the photo and darkened a bit. I used a Stampin Up! scalloped edge punch for the edges of the papers. Then I wrapped some black fibres around the photo and mounted it onto the card using foam tape. Voila - a spring card!!!


Till next time, happy days!

27 April 2010

Same layout 2 ways

Every month I complete a challenge for my private scrapbooking group CRII. It consists of a layout sketch challenge and a card challenge. This month's layout sketch featured several small photos and a large one.

I was inspired to make a layout about camellias. Why you may ask? Well, one of the group members, Sue, sent me an ATC because I had picked the camellia in our online Bingo game. She told me that it was the state flower of her home state, Alabama. This was all new to me, but I like picking up interesting facts, and the idea for this layout just came to me since we have a garden FULL of camellias and I have LOTS of photos. So, in order to quickly finish the layout, I made a digital one. Actually this gave me a way to see what it might look like too! So, here is the result:

But then I decided that I wanted to make a traditional paper layout too. Well actually I guess it's really a hybrid layout, part digital and part paper. I printed the A4 portion of the left hand side of the layout with the photos onto canvas. I then reprinted the A4 portion of the left hand page, and the A4 portion of the right hand page with the journalling and kaleidoscope onto paper. I found some matching DCWV cardstock and stuck the A4 portions I just printed onto the cardstock. I cut out the pictures from the canvas and mounted them onto squares of chipboard, then used foam mounting tape to put them in their proper spots on the printed paper.

I stamped the title onto some waste canvas with Stazon ink and coloured them in with coloured pencils. I also added a few Kaisercraft rhinestones and a pearl. Since the whole layout was inspired by Sue's ATC, and since its colours matched my layout as well (that was never planned!) I added it to the layout. I also made a pocket on the right hand page by cutting a slit on the edge of the kaleidoscope picture. I made a tab by folding a punched shape in half lengthwise and attaching it to the envelope with Sue's note in it. The punch I used was the Stampin Up! designer label punch. I then slipped the envelope into the pocket behind the kaleidoscope picture. The layout is virtually the same as the digital one, but different! Here it is so you can compare for yourself.
And here are the left and right hand sides individually.


So, what do you think?


As I said above, there is also a card challenge each month. It was also a sketch challenge. Here's the sketch.

And here's my card:

It was made completely from scraps and bits and pieces from my stash. The stars on the left hand side of the card were made from kaleidoscope stars that I made for my Sunflower layout here. I still had some printed so was able to make these. I cut out two of the pointy stars, cut them each in half - one through the points, and the other through the troughs in between. I layered one on top of the other and then stuck them down. For the border on the right I put an acrylic/sequin flower behind every second eyelet. The stamp I used in the middle section was made by Autumn Leaves - Stampology, On the Edge (although interestingly on the packet they're called Block Stamps 2!). The sentiment is from the Stampin Up! Great Friend set.

Till next time, happy days!

20 April 2010

March Layout - Project 12

I've been slow at getting layouts done this month. I have lots of ideas, but don't seem to be getting that far with the actual work! Anyway, I finally finished my March layout for Project 12. Here it is:

Here's the inspiration sketch. Once again it was designed by Becky Fleck of PageMaps.

I used the same papers as for the last two layouts and only added a few "extras" - the blue fibre across the top, the purple/blue ribbon and the purple border just below the photos, as well as the blue glitter letters that I used on the January layout as well. The ribbon/fibre/border all came from my stash so I don't know what brand they are.

Here's a closeup of the embellishment on the right hand page. It's mostly made from layered die cuts from the kit that the papers come from and some punches from the paper from the kit. The green swirl punches were my downfall, literally. I do my scrapbooking in the spare room. I built myself a pull down desk in the closet. The desk is attached to the wall with chain. The punch I was using was so stiff though that I pushed too hard and the whole table came down - the chain came apart on one side, and came off the screw somehow on the other! Consequently I've been scrapping on the dining room table again. I hope I'll get around to fixing my desk sometime soon.

If you want to see the pages separately and closer, just click on the photos below.


As far as what we did, March was mostly about Logan. He celebrated his birthday and had a mountain biking party with 8 of his friends. It was easy for us. The boys went off biking for half and hour or so, then came back for a snack and drink then were off again. As long as we had food and drink ready they were happy, and thankfully no one was hurt, although one boy did apparently run into a tree, but he was almost stopped anyway, so didn't get hurt. Logan also finished his last games of rebound soccer. His team finished the season in fourth spot.

Kyaa went on a school excursion to Sydney for photography class. She took lots of photos, but I didn't have any available for the layout. For the rest, the month was pretty much business as usual.

Since the month was mostly about Logan he was initially somewhat dismayed to see purple paper with flowers on it. But by the time it was finished I don't think that it was as girly as he expected. I like it. I hope you do too.

Till next time, happy days.

Francine

4 April 2010

Sunflower

I've had this layout ready for a bit now, but haven't yet blogged about it. So, here it is!


I made this layout for my CRII monthly challenge. The challenge was to make a layout based on this sketch.

I used hardly any papers for this layout, just some Kraft and yellow cardstock and some TLC green patterned paper from a 6"x6" paper pad that I had in my stash. I also used three little dragon fly brads, and some Tim Holtz plain grungeboard alphas for the title. I coloured the alphas using bronze Versamark ink. I also inked around the sides of all the papers.

I made the flower embellishments myself. They were made from three different kaleidoscopes I made from the subject picture. I printed them off on 4"x6" (10cmx15cm) photo paper, cut them out, and then layered them on top of each other. I put them in the palm of my hand and rubbed in a circular fashion in the centre of them to make them pop up a bit. after making sure that the points were all offset, I used a small yellow brad to attach them to the page. I actually couldn't decide whether I liked the three layers or not, so one of them is just two photo kaleidoscopes on top of a yellow cardstock scalloped circle that I made with my Stampin Up! scallop circle punch. Do you know which one?

The only problem with using the scallop circle is that there are more points on my kaleidoscope than there are on the scallop circle so they don't quite line up right.

The photograph was taken on our trip to New Zealand in January. On touring around the north island we saw quite a lot of fields bounded by a row of sunflowers. The bright yellow of the flowers against the green crop, in this case corn, was just too good a photograph to turn up, so we stopped at the side of the road and I took my picture. This one was to the north of Waitomo Caves, on our way to Hamilton.

I thought I'd post a freebie for you too! If you want to make your own layered kaleidoscope embellishment, just right click on the photo and click on "Save Picture as" to save it. You can then print it at your regular print shop, or on your home printer and cut out the pieces and make this too. It's scaled to fit a 4"x6" (10x15cm) print. I'd love to see what you use it on, and how you use it so please leave me comment and/or link. If you want to see more of my kaleidoscopes you can see them on my website: www.MemoriesInKaleidoscope.com

If you've seen my previous posts about my CRII monthly challenges, you'll know that as well as the layout challenge, there is also a card challenge. This month's card sketch was this one. I went through my stamp collection and found one (from Stampin Up! 'A little Bit of Happiness' set) that was the right shape and then designed the card around that. I stamped the design with Stayzon, then coloured it in with watercolour pencils. I masked the rest of the stamp so that I could stamp just the part that said hello onto the tag, and coloured that in with the watercolour pencils as well. I added a strip of yellow cardstock and a floss bow and voila, a finished card! It was really quick and easy, and I like how it turned out.

I've just discovered that an online friend, Ingeborg, has her own competition blog! Ingeborg and I were both in the same group of consultants who used to sell TLC scrapbooking products. The group had it's own online MSN group where we would all share ideas and inspiration and help each other when someone had a question. Ingeborg also started her own online store selling scrapbooking supplies, but then she moved from Australia back to her native country, the Netherlands so stopped her business. It was a sad time as there were a large number of people who regularly "met" on her forum. But now, I've rediscovered her beautiful work on her blog. You really should have a look as she does the most wonderful layouts.

I digress however. The point was that Ingeborg also runs a monthly layout competition from her second blog, and she even has prizes! She picks the winner using a random number generator so everyone has an equal chance of winning - much fairer all around I think. So anyway, being one who likes to "kill two birds with one stone" so to speak, I entered my sunflower layout in her competition as well. Mostly it was because I only had 2 days before the end of the month and no time to make another layout. I intend to do better this month!

Well folks - I think that's it for today, other than to tell you that the kaleidoscope with the yellow scallop circle is the one at the bottom of the layout in case you were wondering. Till next time, happy days!

26 March 2010

Glamour Photos

I'm not quite sure why, but when I saw the papers in this month's competition kit from Wrapped in Paper, I thought of these glamour photos I had taken some 16 or 17 years ago. They were taken at a time when it was all the rage to go to a photography studio where they would do your hair and makeup then take shots of you as if you were a model. I have to say that I look much better in those photos than I did in real life back then, and I looked much better then than I look now, so many years later! I guess that's what happens when you age though! Anyway, back to the layout.

Here's a photo of what was in the kit. There was a sheet of brown cardstock, a full sheet of Love Me Bella! Damsel Paperz, and three half sheets of patterned papers that I imagine are part of the Bella! Damsel Paperz range as well. There was also a pack of 'Handmade Sticker' flower stickers, lengths of two different brown ribbons and some pink ribbon, as well as some small rhinestones. I added some white 50mm Kaisercraft flowers, some pink Kaisercraft rhinestones, and some white Delish Designs flocked alphabet stickers from my stash.

Now, Here's my layout!


I started by cutting a 1 inch strip of paper from each of the papers that came in the kit. Then I cut those strips into one inch squares. I stuck them onto the cardstock in a random order across the top and bottom of the page. Then I cut pieces of the ribbons and stuck them over some of the joins between the squares. Finally I got my sewing machine out and zigzag stitched the squares and ribbons to the page. It didn't really turn out as I had envisioned as the stitch was too big, but it has grown on me. I added the photos, with the middle one put on with foam tape so it's a bit higher than the two end ones. For the rest of the embellishment I made up the flowers by punching daisies (using a Sullivans 25mm daisy punch and a matching smaller version by Carl?) out of the papers. For the all pink flowers I layered two 25mm flowers on top of each other, but offset, and then added a smaller daisy on top of that, with a rhinestone in the middle. I put the whole thing in the palm of my hand and pressed the centre in with my little finger so that the petals would stand up a bit. For the white flowers I took a Kaisercraft 50mm flower, added a 25mm punched flower, then added one of the flower stickers from the kit.


Here's some closeup views of the stitching and flower embellishments. You can click on any of the photos to see them larger.


Finally I added the title and a few of the clear rhinestones here and there, including on the middle photo to make my ring stand out! I wish the diamond in my engagement ring was really that big! Well, actually I don't as I think it would get caught on everything, but it looks good on the layout! You can see it better in this photo.

The only thing that I don't have on this layout is some journalling. This is extremely unusual for me as I normally do put some on. I think I might add something to the back, or a pull out tab under one of the photos when I get it back from the shop after the competition is over. I considered putting some on the layout, but with all the little paper squares it's just too busy to add some journalling as well. In fact I had initially used some silver glitter alphas that I had, but they just got lost on the page, so I changed that title to the white letters instead.

Well, let me know what you think of my page.

Till next time, happy days!

21 March 2010

Project 12 - February 2010 Layout


I've had the photos for this layout for over a week, but haven't had a chance to get to this layout, so I'm pleased that I finally got it finished. This is my second layout for Project 12 at Scrapbook and Cards Today. Two down, ten to go!

This month's sketch allowed for 7 photos. I love that these sketches give me the opportunity to put lots of photos on a page. I've always felt that while single photo layouts can be absolutely beautiful works of art, that the real reason for scrapbooking is to record the events and everyday happenings of life. Of course that requires many photos and lots of journalling. These sketches allow me to do just that!

Once again I used the papers and embellishments from the scrapbooking kit that I purchased from Aldi last year. My intention is to use the same kit for all the Project 12 layouts and to keep them in the matching album. So far, so good. I'm not sure whether I will actually have enough papers, but I guess we'll see as the year goes on. The cardstock is from my TLC stash, and I also added a few buttons, some ribbon and some edging from my stash. The ribbon was left over from a competition kit but wouldn't stay stuck with the double sided tape I was using, so I sewed it to the page. That ended up being difficult as it was hard to see through the ribbon to the holes I pierced for the purpose. Both of the edgings I used were white but I coloured them with bronze Versamark ink.

During February the kids started a new school year. We had two and a half days of rain, the most we've seen in months. The grass is actually green again instead of brown and dead! There was so much rain in that period in fact that Lake Burley Griffin was so full that they opened Scrivener Dam. It proved to be quite a draw card, and like most of Canberra we too went to have a look. This month also saw the winter Olympics being held in Vancouver. We were all cheering for Canada during the ice hockey and the kids went to find the Canadian flag to have out during the game. Both kids also had lots of badges that they had traded during their Guide and Scout camps in January. They all needed to be sewn on to their camp blankets, so much of their time was spent sewing! Some were sewn on better than others, but at least I didn't have to do it, although I did help with a few of the more difficult badges.

I like how this layout turned out. I like it better than last month's.

On the left is the left hand side on its own. Just click on it if you want a closer look.


On the right is the right hand side.


I have another layout done for my LSS monthly competition, but won't post it just yet as I feel there's something wrong with it at the moment. I'm still trying to work out how to improve it.

Till next time, happy days!